- Log in with your credentials
https://portal.v3.cashdesk.nl/account/login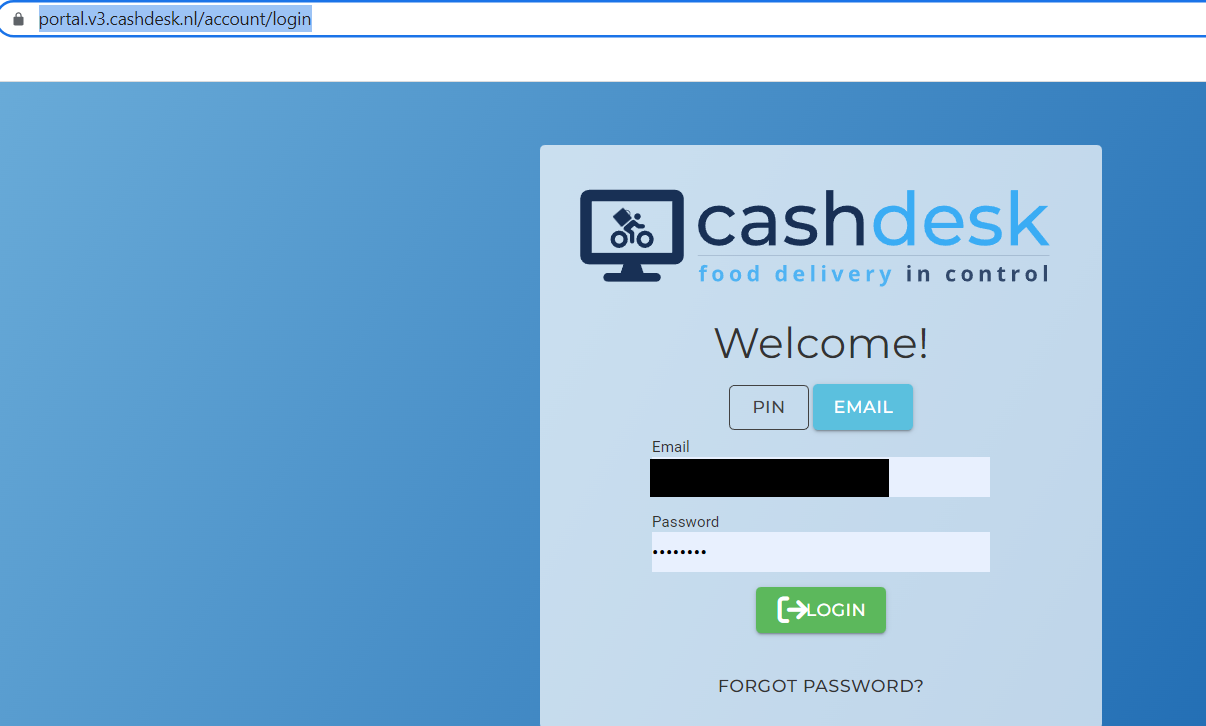
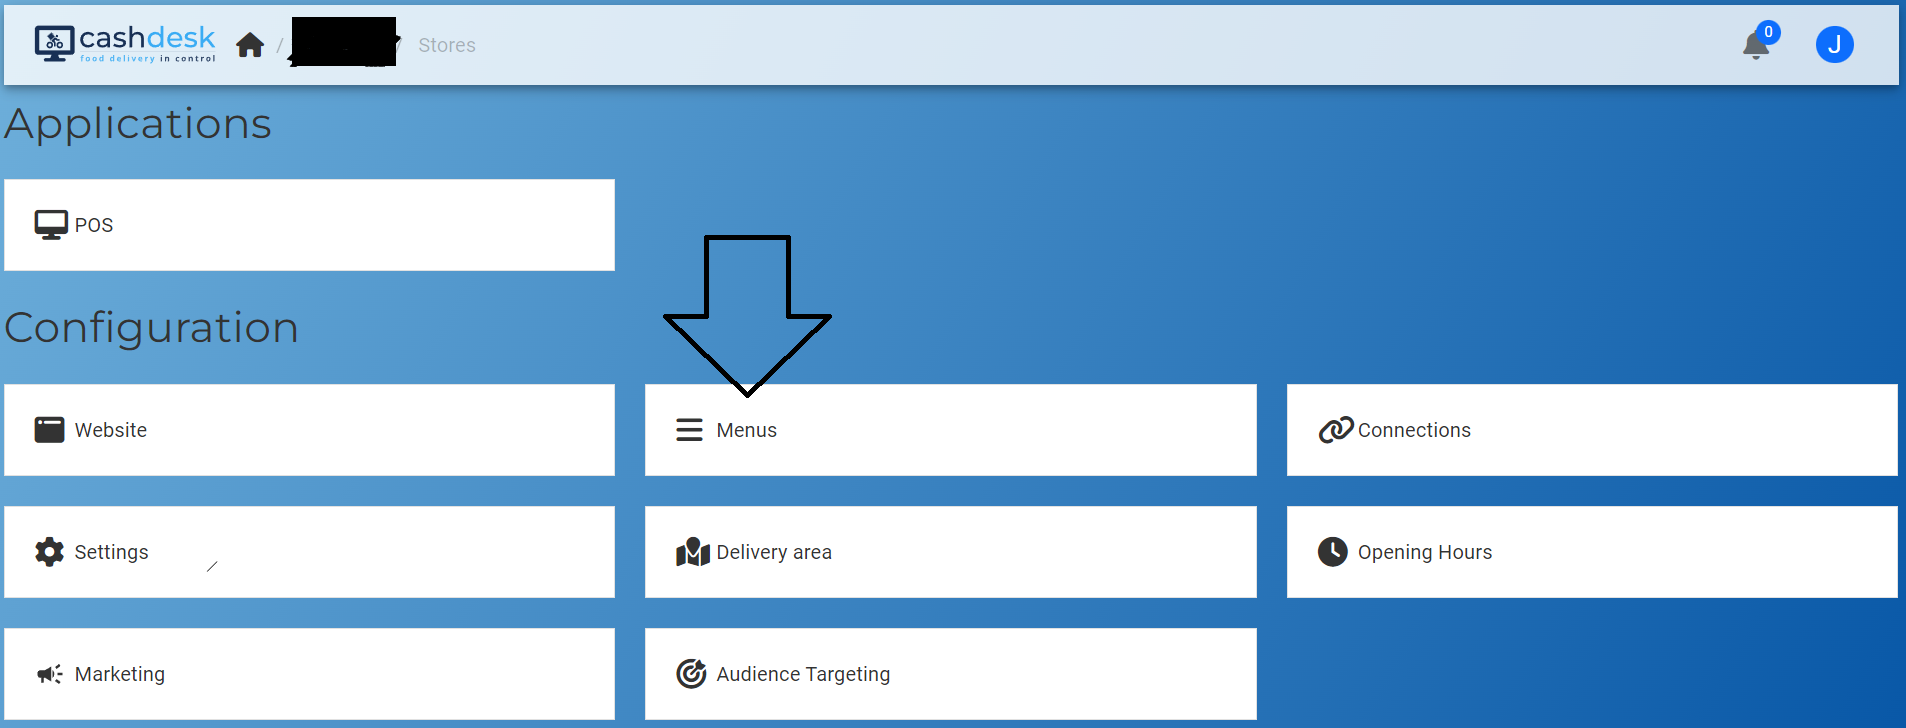
- This is your main screen. Here you can press "Menus"
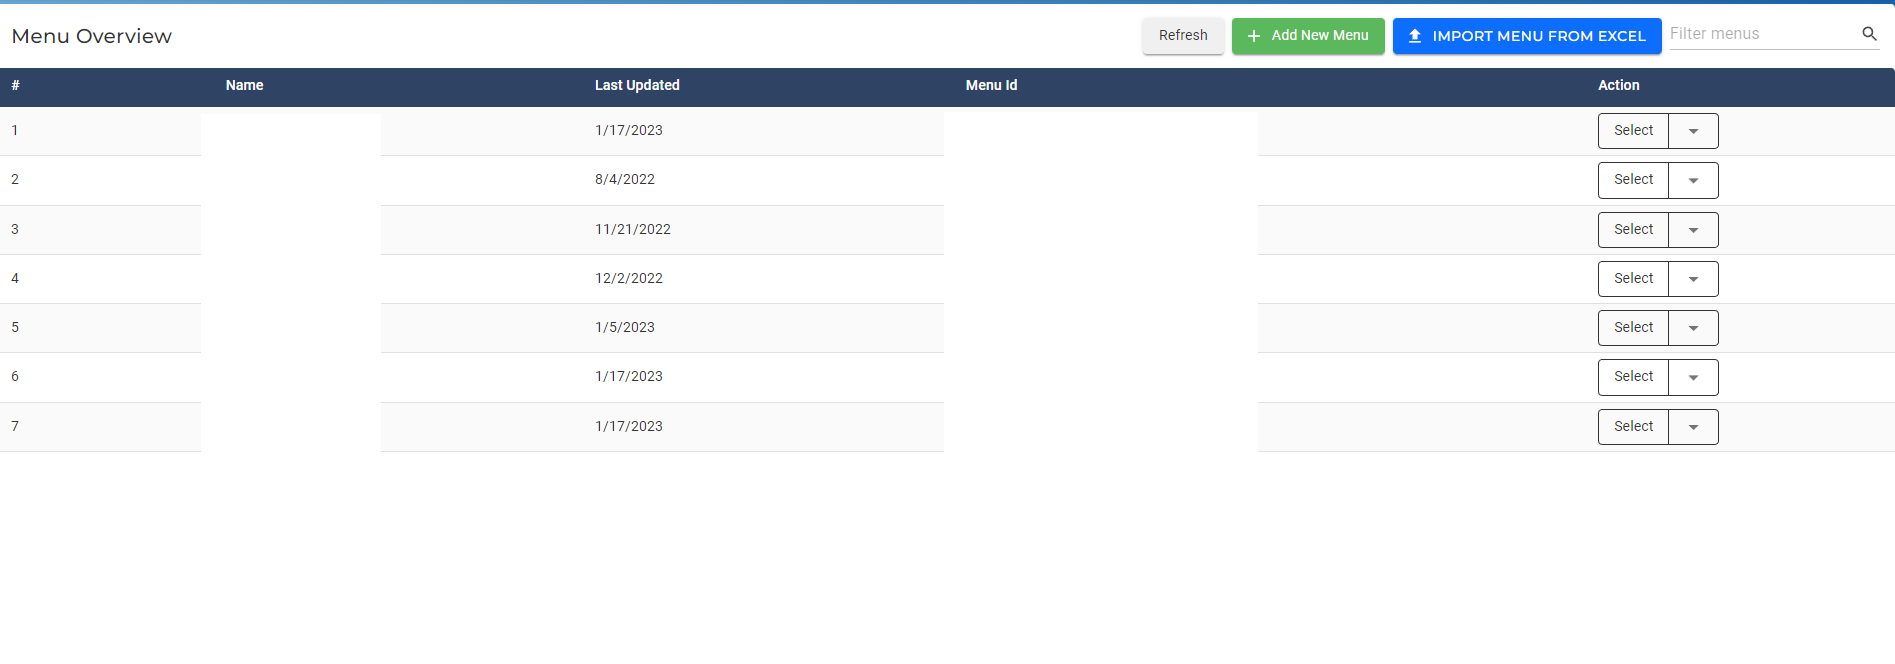
- That's how your screen will look like. Most likely there won't be any entries. Since this is an example from a test system, there are already many different menus created within the same restaurant.
- The first step would usually be to click the green button "Add New Menu".
This will lead you to the following screen (which you can later also always access by clicking the edit button for existing menus, as seen in the picture below)
NOTE: You also have the option to Import a menu from a EXCEL file.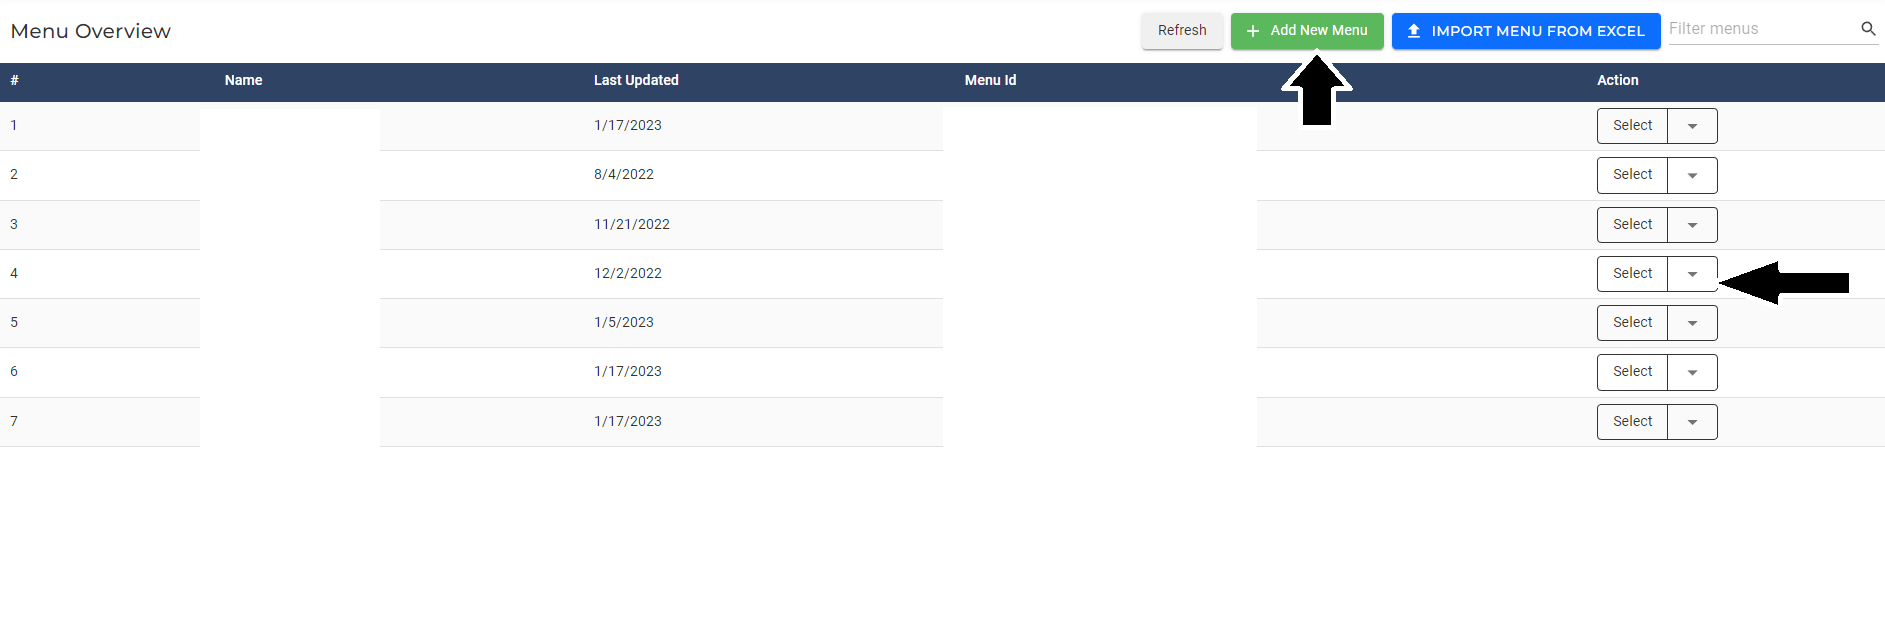
- The next screen will look like this. Here you can, from top to bottom, enter the Name and the description of the menu in the second field.
The base menu option lets you chose from a preset of menus which you don't have to.
After filling everything you can click "Next".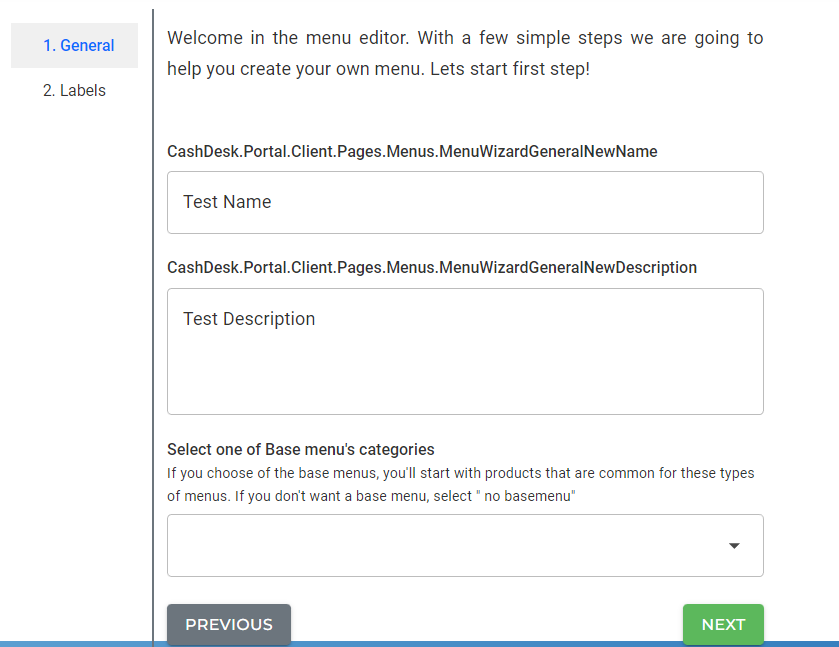
- The second window in that step is the "Labels". Here you have the option to activate / deactivate multiple settings depending on your wishes. If you hover over the different points, you will get an explanation for each setting. Nothing is mandatory and can always be accessed again later if you decide to change something. This is done like shown in step 4.) via the "Edit" button in the menu-overview screen.

- After you click "Create Menu" in the previous step, you will get back to the menu overview and your menu will show up there now. In our example:

- That's it. Now you have created your own menu.
If you'd like to see how you can further edit, change and customize your menu, click the following ling.
Article: How to Change your Menu
English