- Log in with your credentials
https://portal.app.cashdesk.nl/account/login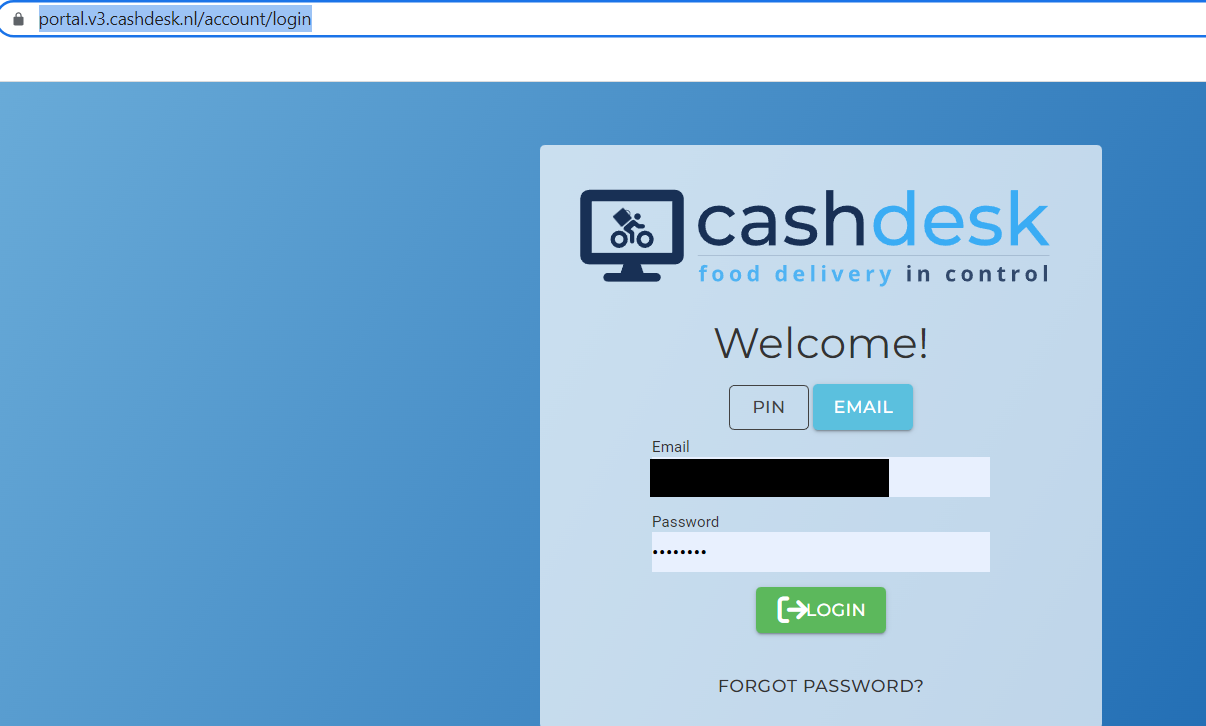
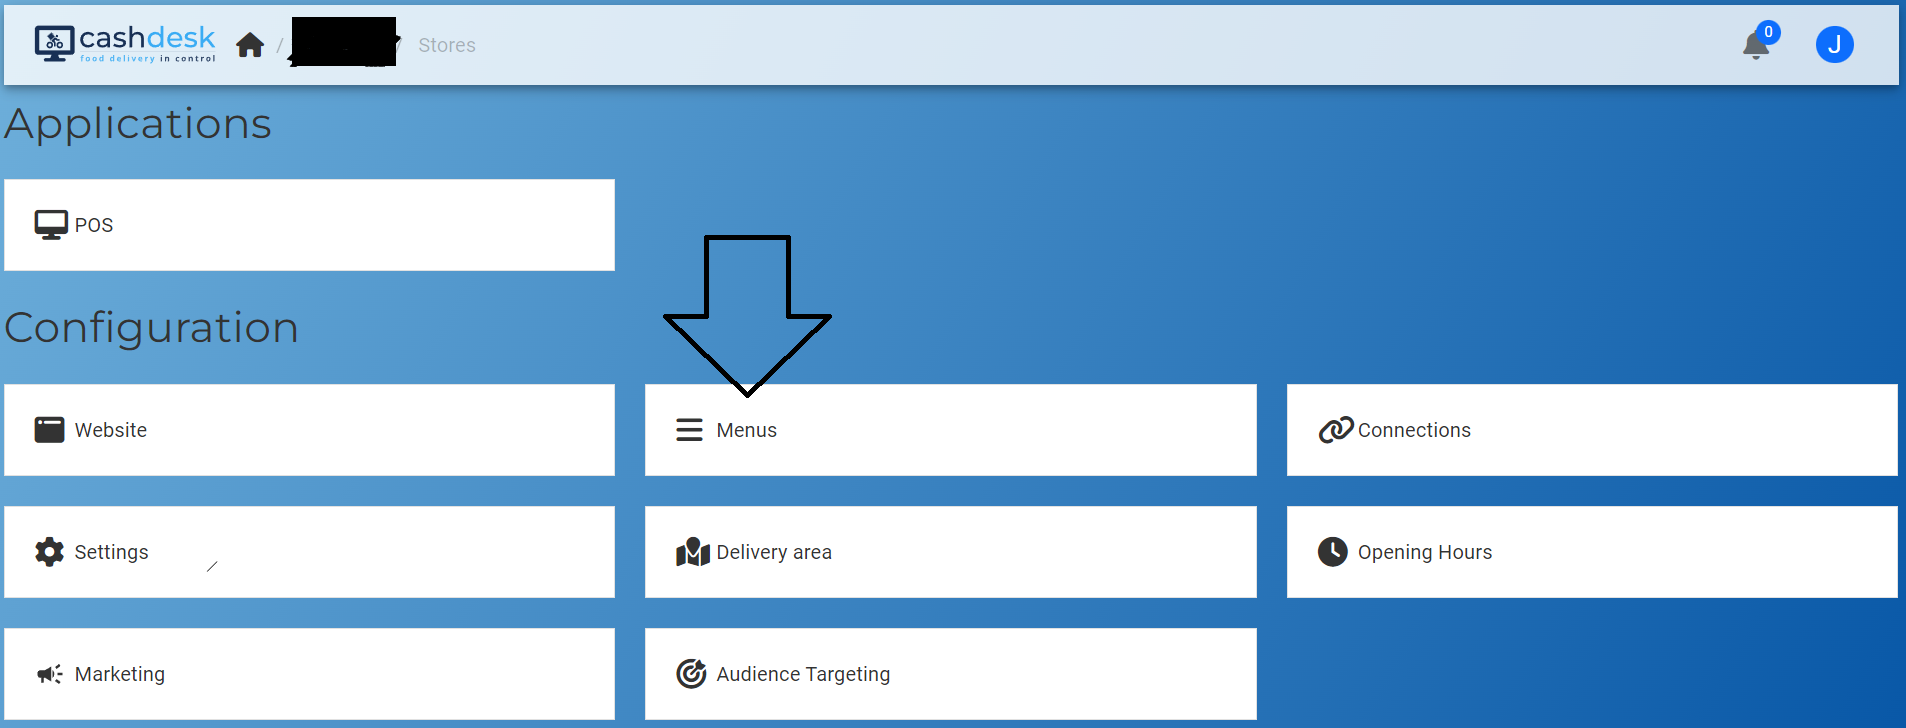
- This is your main screen. Here you can press "Menus"
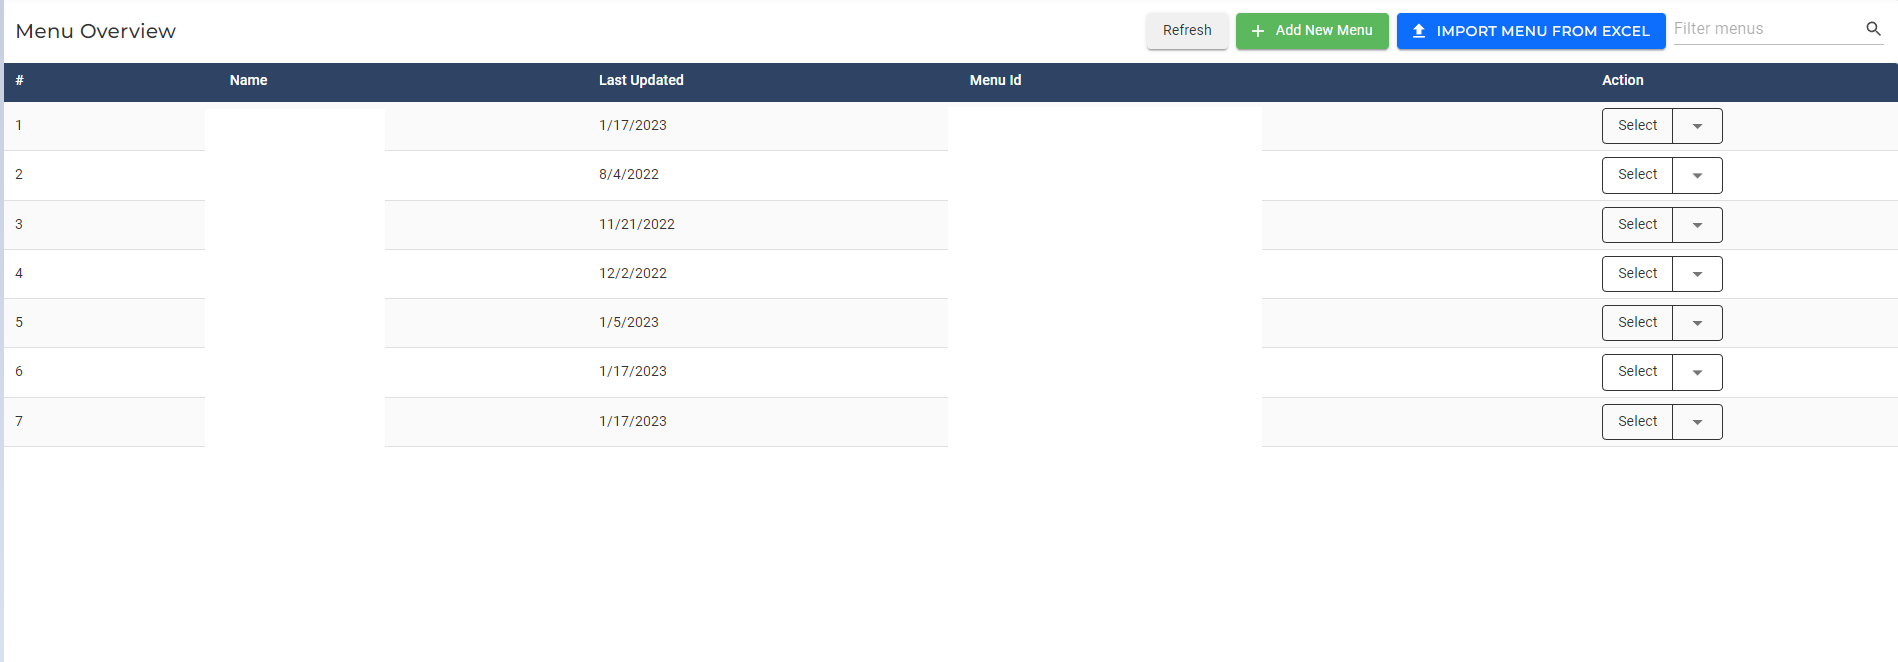
- That's how your screen will look like. Most likely there won't be any entries. Since this is an example from a test system, there are already many different menus created within the same restaurant.
- After you click "Create Menu" in the previous step, you will get back to the menu overview and your menu will show up there now. In our example:

- Now you can click "Select" on the right side to get into the specifics of editing of the menu. The screen looks like this and you have four different categories to work with. The products, The Choice Groups, Settings and Versions.
We will explain what everything does step by step.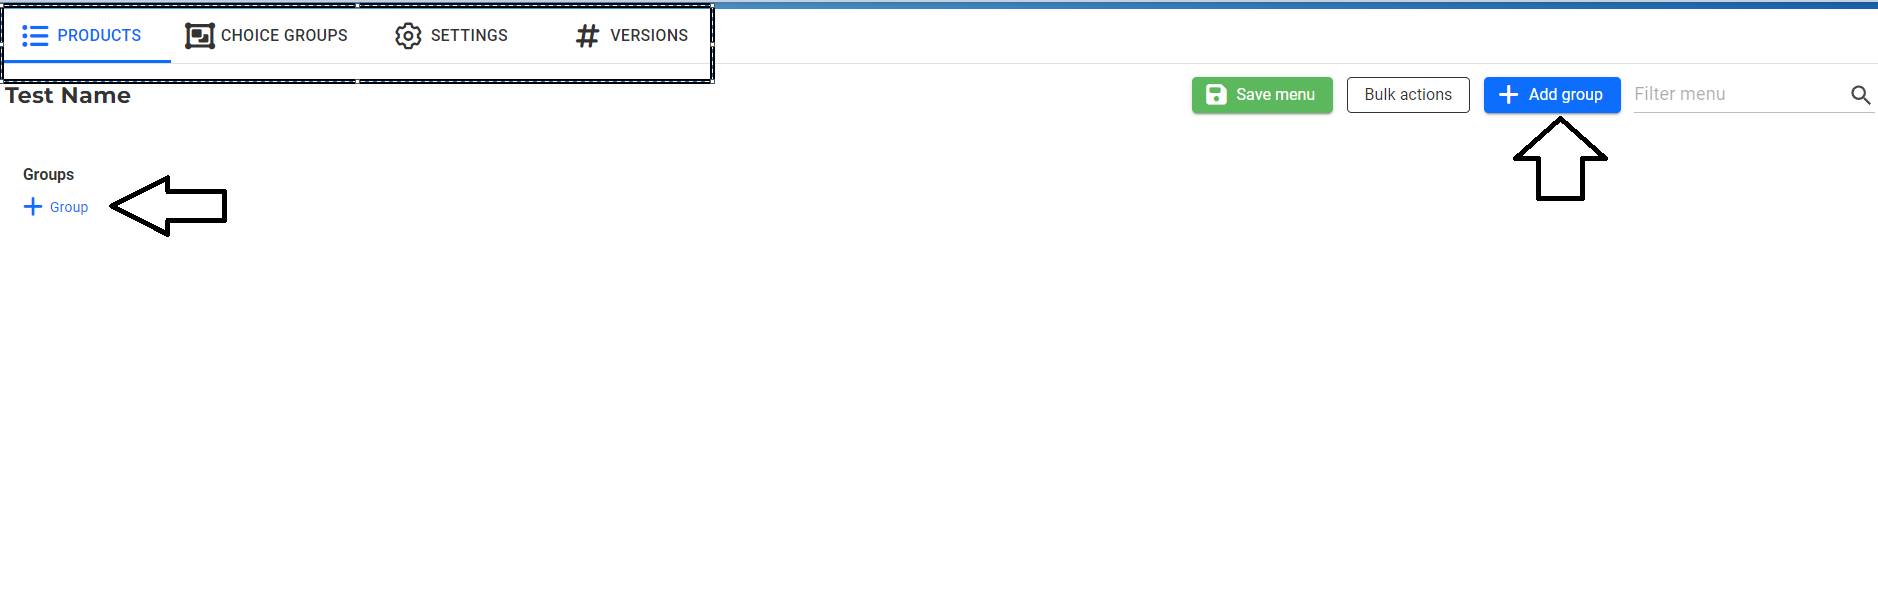
It looks pretty empty because it is a new menu, so to show you how it works, we have to create a Productgroup first as indicated by the arrows.
The next screen will look like this with 4 different options to edit.
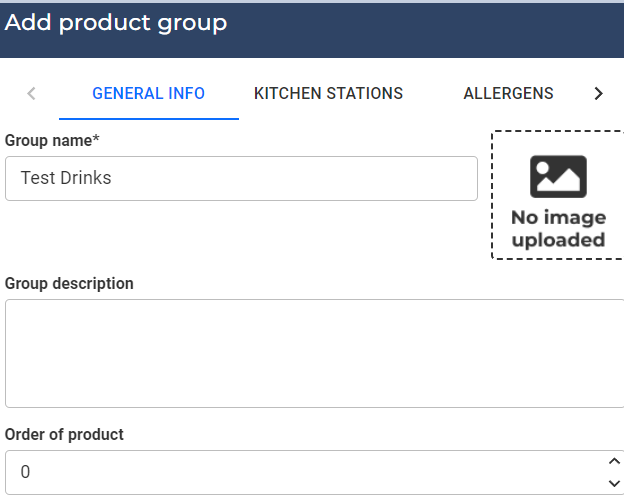
General Info
Here you can put the name of the group, an optional description and the order, in which spot the group will appear in your system / on your website.
Kitchen Stations
In the Kitchen Station screen you assign this new product group to be printed at a specific printer of your choice.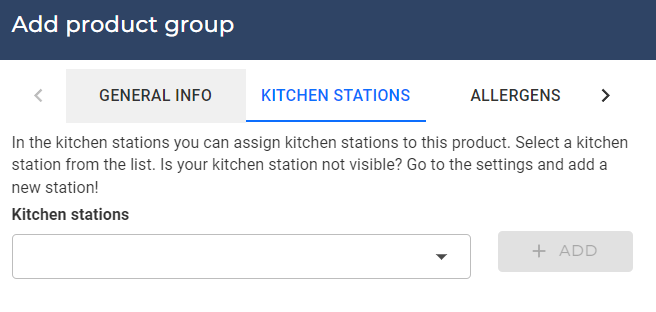
How to set this up - you can check in this article.
HOW TO SET UP YOUR PRINTERS
Allergens & Labels
In those two screens you can adjust and assign labels for the product group regarding Allergens, Labels, Warnings, etc.

- After those steps your screen / menu should look like this.
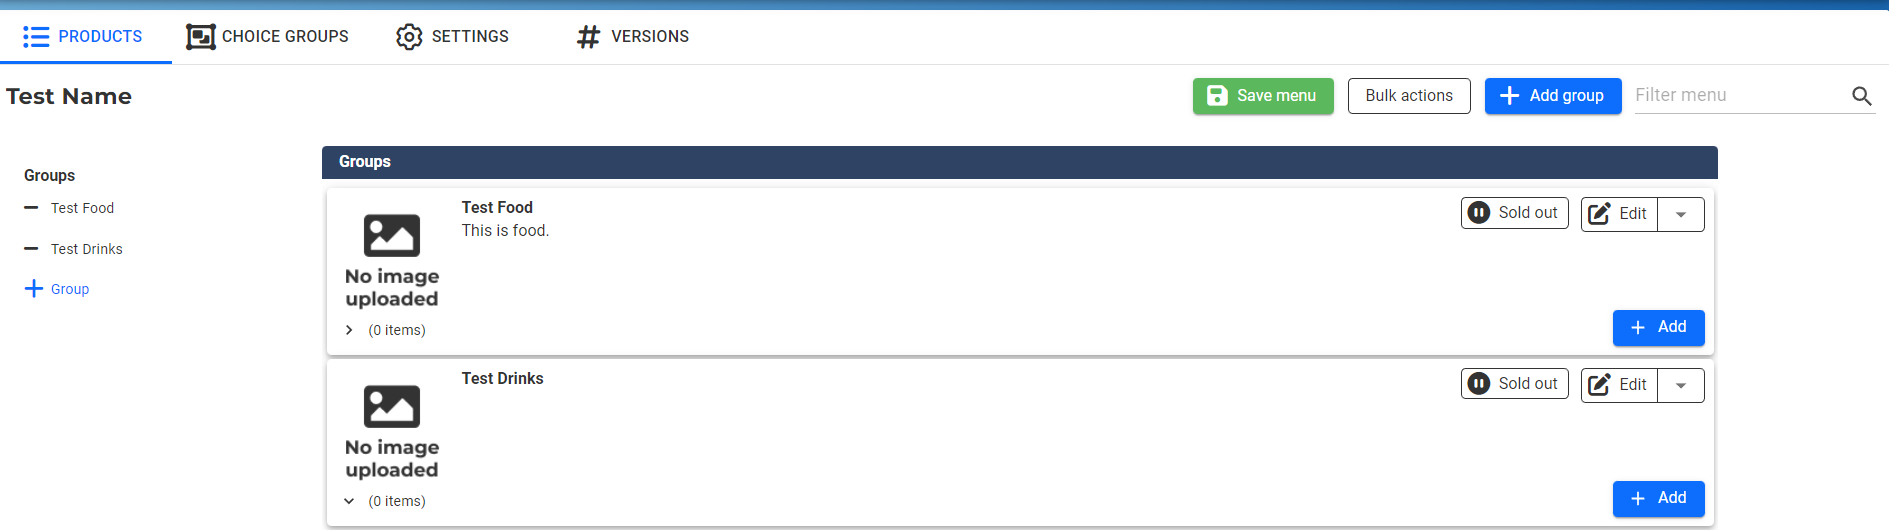 Now you have two groups but they are both empty.
On the right hand side you already see multiple other options.
You can select a whole group to be "sold" our or edit the group. Edit will bring you back to the screen we have seen before when creating a menu for the first time.
Another button "Bulk actions" lets you simply apply a change to multiple products / productgroups at the same time. Let's add some prodcuts and choices now. - Click on the blue "Add" button the bottom right. It will look like this. You have two options.
Adding a product or adding a sub-group.
Quick example for a sub-group could be: Your main group is "Drinks" and then you could create different sub-groups within your "Drinks" group - for example:
- Alcoholic Drinks
- non - Alcoholic Drinks
- etc.
You can then obviously also adjust each of those groups again.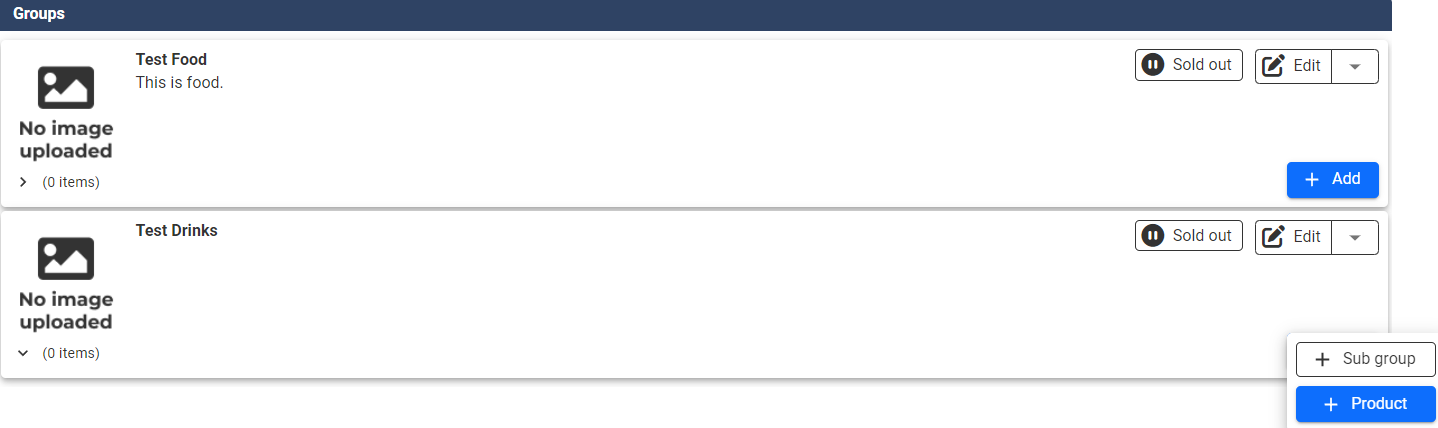 After adding two Sub-Groups for drinks with 1 prouct in it each it could look like this.
Test Drinks is the main groups. "Alcohol" and "non alcohol drinks" are the sub-groups.
And wine / cola are the respective products in this example for each subgroup which the customer can then buy. - Last step is the Product choices. They work the same way as product groups and products.
The only difference: You have to declare a minimum and a maximum amount of "choices" the customer has access to for every choice so he, for example, can only choose two additional ... XYZ. This would be done here on the bottom when creating a choice group.
So now I have created a Choice-Group "Extra Sauces" with one Choice in it "Curry Sauce"
If we edit the choice now, in this case "Curry Sauce" it will look like this.
The unique thing here: we can set a price and we can select a sales channel:
For the Sales Channel: It simply means you can choose which at which provider your choices are uploaded to,
To assign choices to a product:
Go back to your products, select the one to edit.
And you can select "Choice Groups" where you see every choice group and you can easily add them there.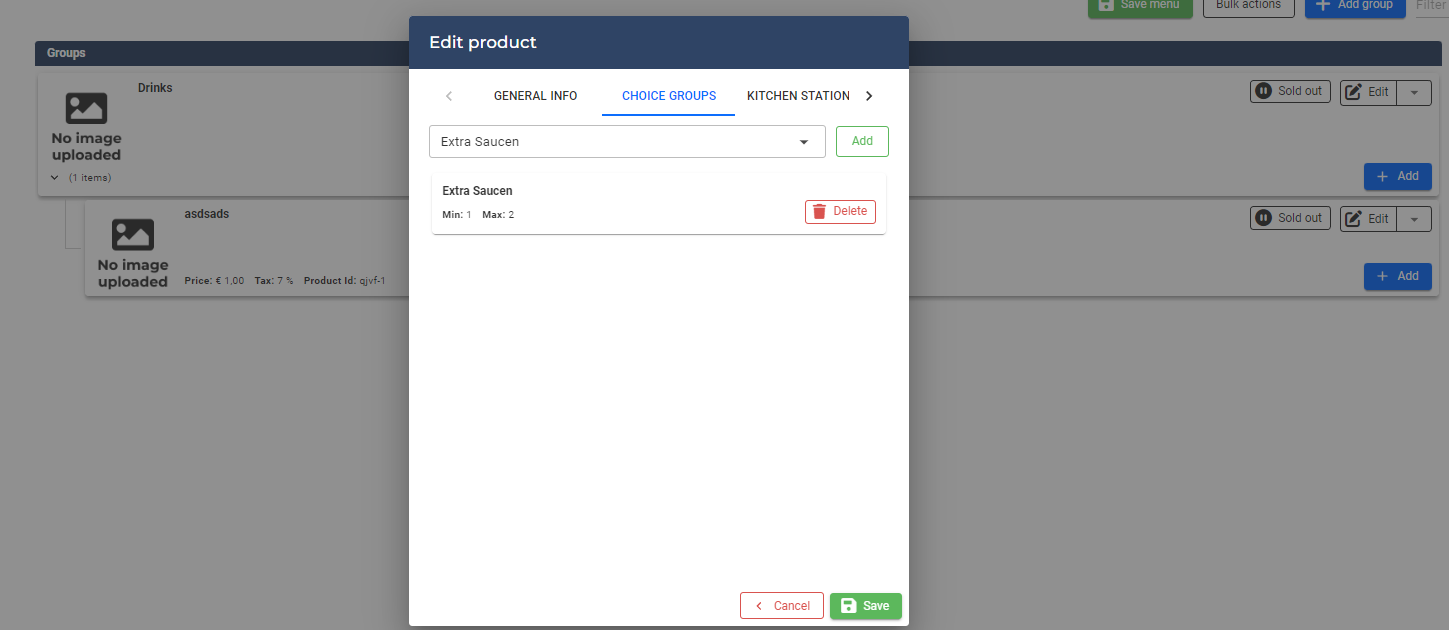
CashDesk 3.0 - How do I change my menu?
In this article you will find information on how to change the menu of your restaurant in your CashDesk 3.0 environment.
After you have successfully created your first own menu, we will now look at how you can change, modify and set up your menu even further.
If you don't know how to create a new Menu, the following link will guide you to the article on
How To Create a new Menu
If you have a menu already you want to edit, follow the steps below.